Notes on PCI Passthrough on NixOS using QEMU and VFIO
28 Sep 2019With the release of the Ryzen 3000 series CPUs, I decided it was finally time to upgrade from my good old Intel i5 2500K. It served me well for nearly 8 years, but its age was starting to show. While doing the upgrade, I also wanted to address the other two main pain points I had with my previous setup. Long story short: I ended up installing NixOS and setting up PCI passthrough.
The Linux distribution I was using previously, Gentoo Linux, became too much of a burden to maintain across multiple machines and I was looking for an alternative that offers similar flexibility. The declarative configuration system of NixOS appealed to me and I decided to give it a shot after playing around with it for a bit.
The other annoyance I had, was the fact that I had to reboot into Windows to be able to play games. However, with the combination of the IOMMU on modern motherboards and the VFIO driver on Linux, it’s possible to directly and securely access entire groups of PCIe devices from userspace. This allows one to pass through a GPU to a Windows virtual machine, with minimal overhead in terms of performance.
This blog post walks through my specific PCI passthrough setup, with some notes on how to get it working on NixOS. If you’re new to PCI passthrough, this might not be for you. The Arch Linux Wiki has an excellent article that you can refer to if want to get up to speed. I relied on it heavily.
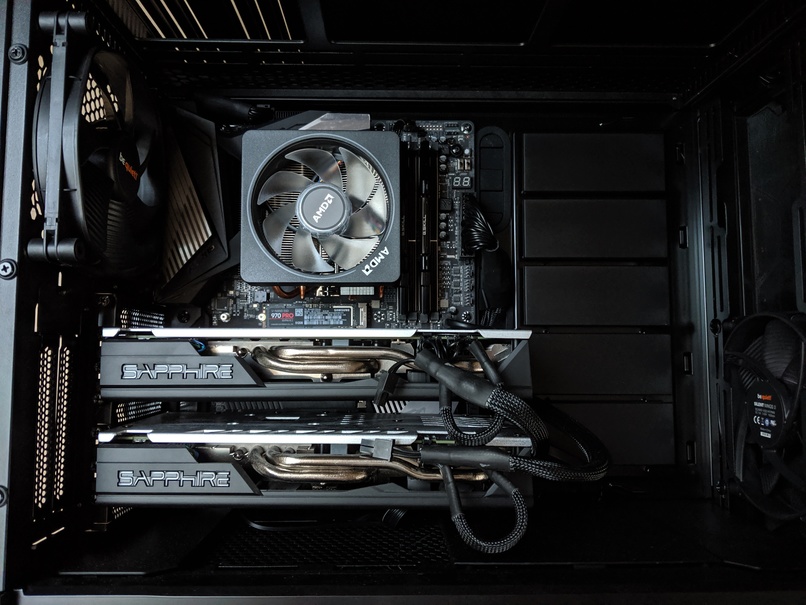
Hardware
The machine I ended up building has the following specifications:
- OS: NixOS 19.09
- CPU: Ryzen 9 3900X
- Motherboard: Gigabyte X570 Aorus Master (rev 1.0)
- UEFI: F7c (AGESA 1.0.0.3 ABBA)
- RAM: G.Skill DDR4 Ripjaws-V 2x16GB 3200MHz CL14
- GPU 1: Sapphire Nitro+ Radeon RX 580 4GD5
- GPU 2: Sapphire Nitro+ Radeon RX 590 8GD5
You’ll want to do some research online before purchasing the hardware for your machine to make sure that it has good IOMMU support. Perhaps someone has set up PCI passthrough on the same hardware before and has posted the list of IOMMU groups somewhere online.
Here’s the list of IOMMU groups on my system: iommu-groups.txt.
UEFI
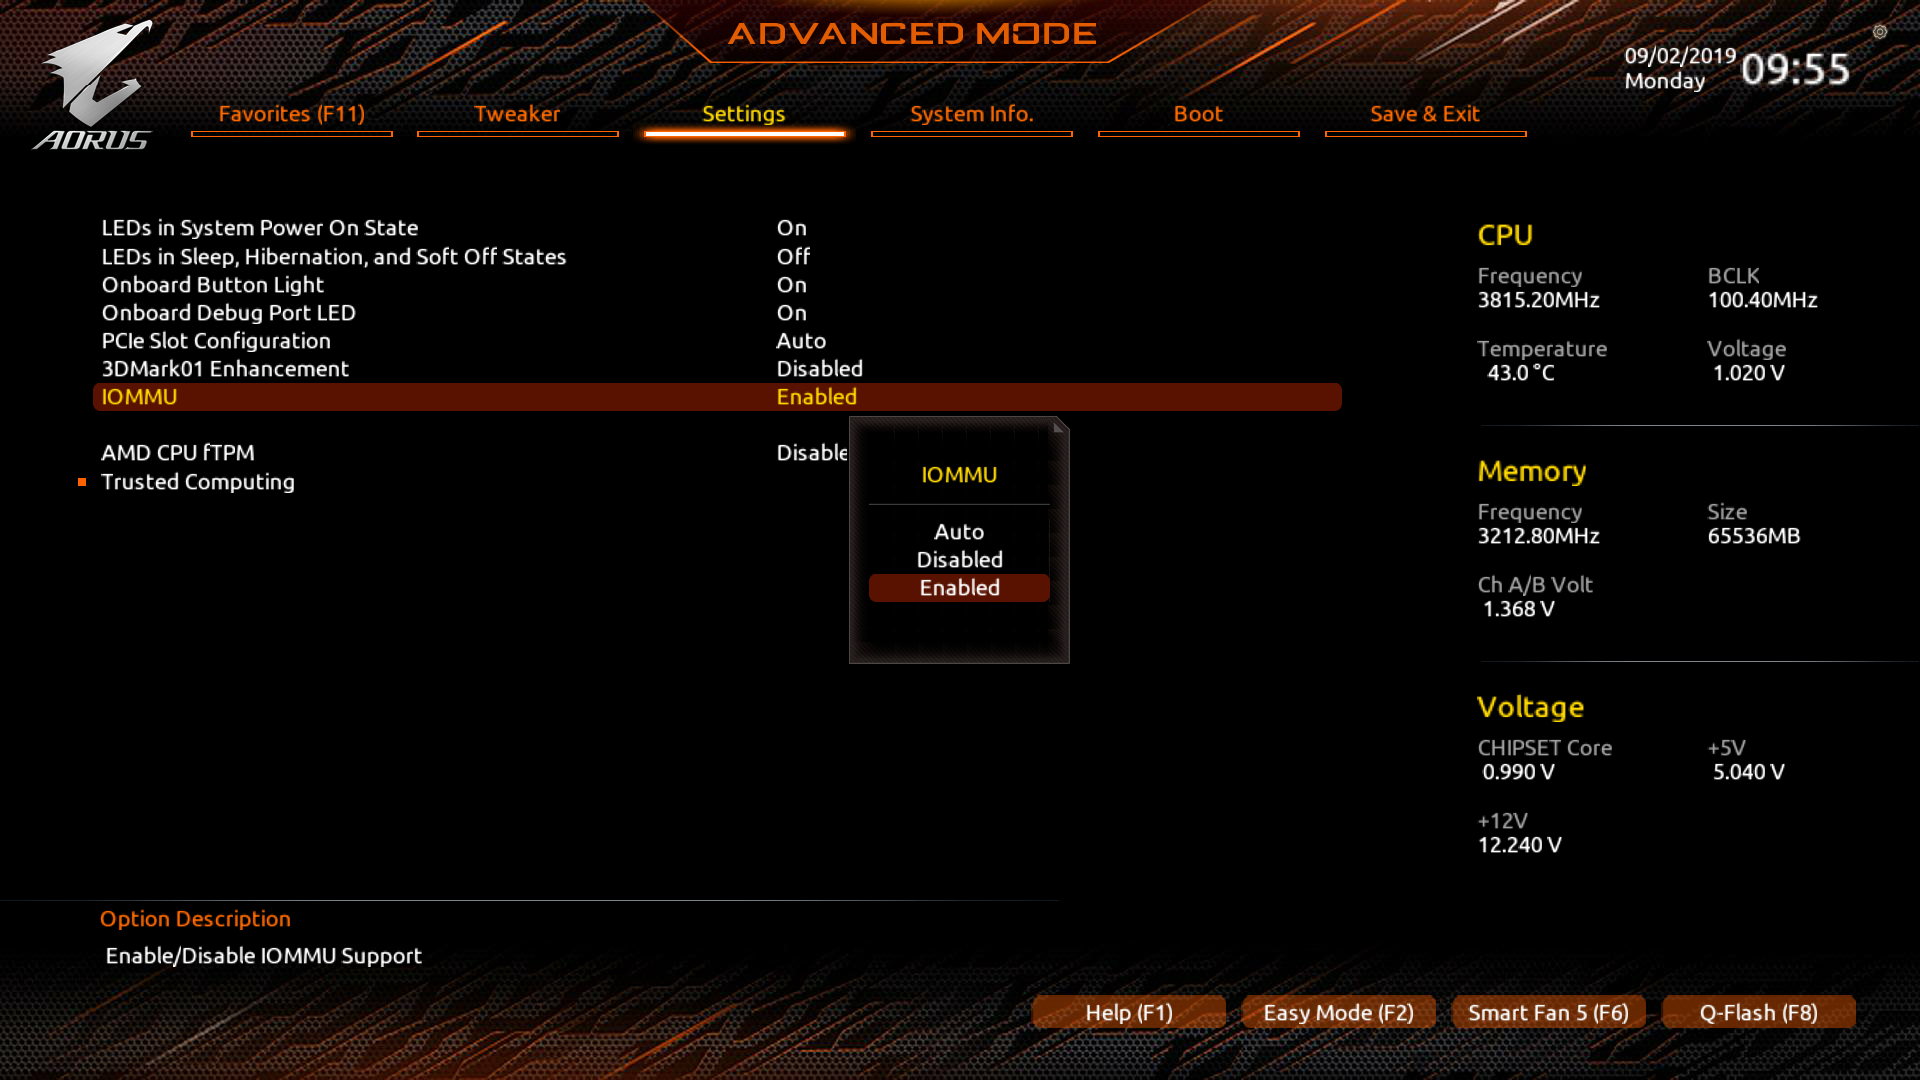
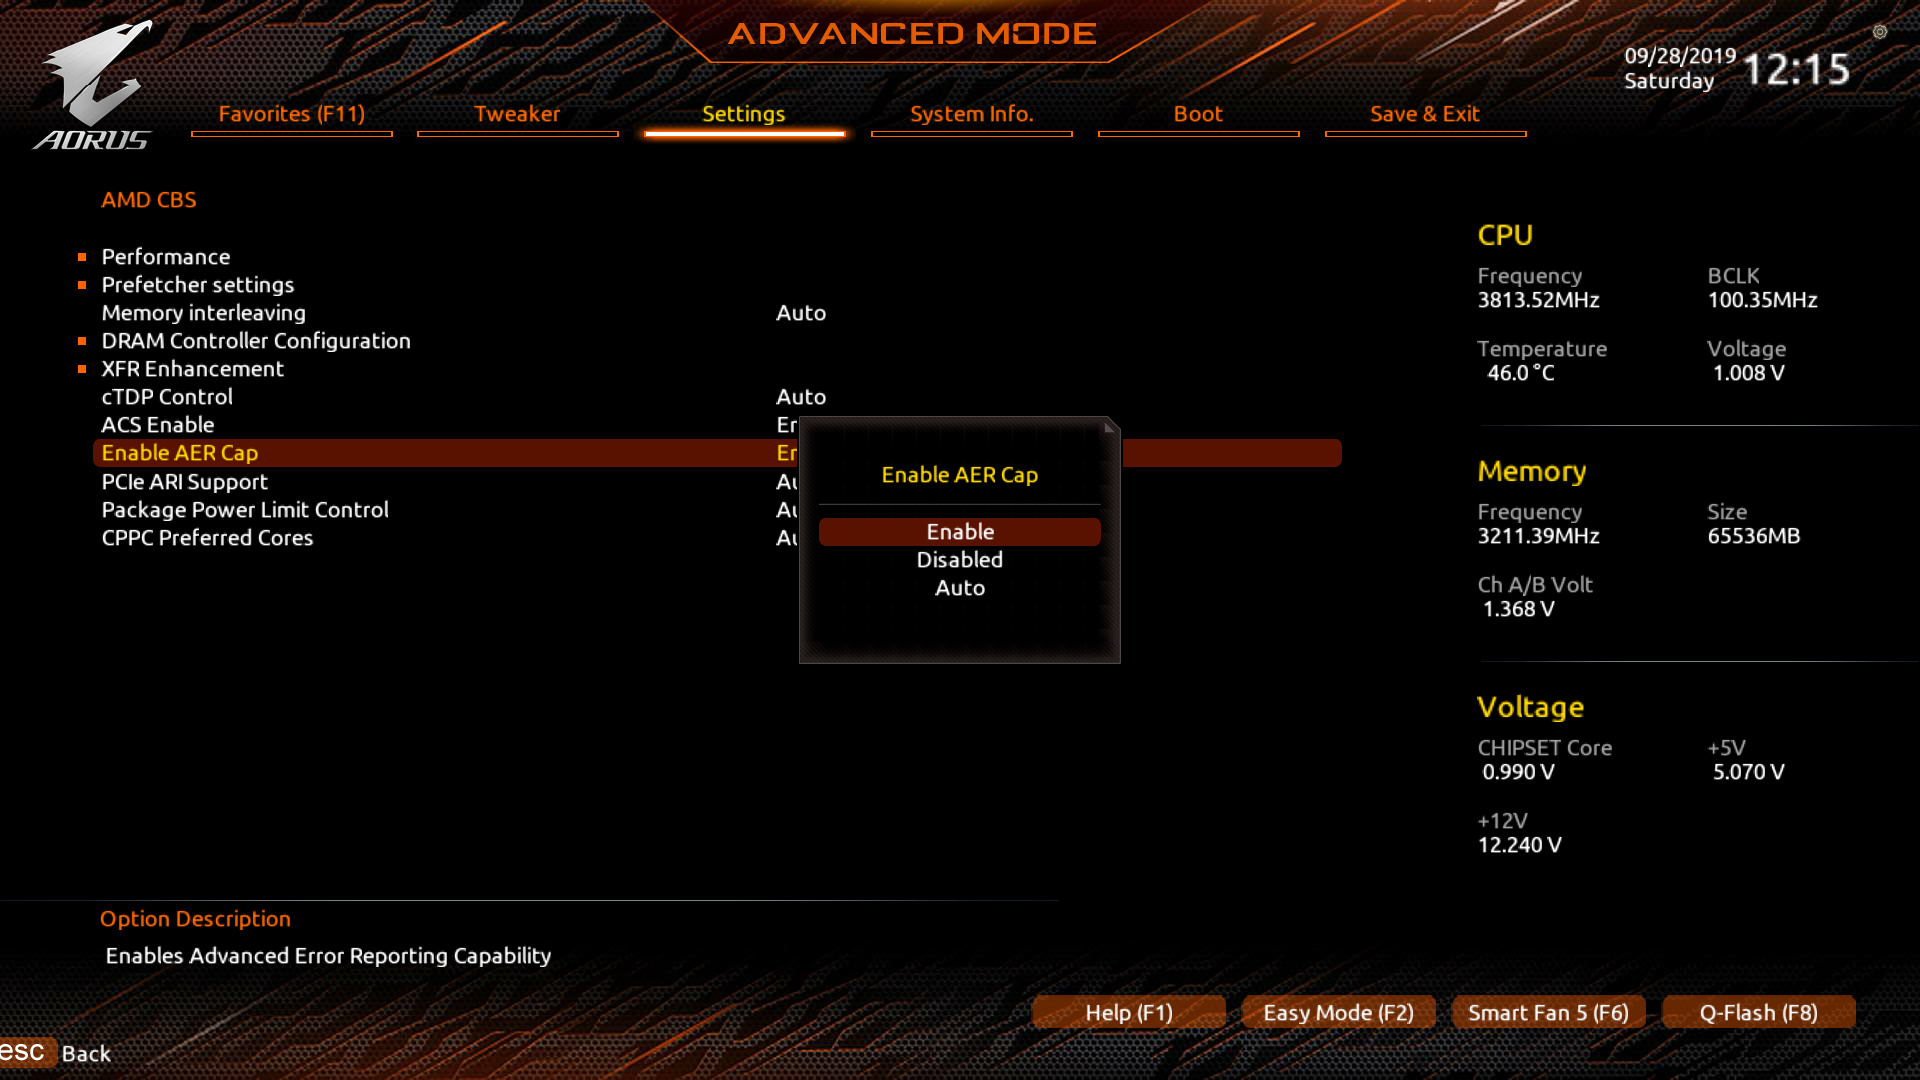
To start things off, we need to make a couple of changes to the UEFI settings. AMD SVM, IOMMU, ACS and AER support need to be enabled. We also need to make sure to configure the initial display output GPU, so that the guest GPU remains untouched during the boot process. On my setup, the RX 580 will be used by the host and the RX 590 will be passed through to the guest. The setting defaults to PCI slot 1, so I don’t have to make any changes there.


VFIO
The next step is to identify the PCI slot numbers for the GPUs and the IOMMU groups they’re in. Boot your OS and run the following script:
#!/usr/bin/env bash

shopt -s nullglob
for d in /sys/kernel/iommu_groups/*/devices/*; do
    n=${d#*/iommu_groups/*}; n=${n%%/*}
    printf 'IOMMU Group %s ' "$n"
    lspci -nns "${d##*/}"
done;
You should see two VGA devices, each in a separate IOMMU group, along with an
audio device in the same group. Take note of the PCI slot number of the VGA and
audio device you want to pass through to the guest. In my case, that’d be
0b:00.0 and 0b:00.1
IOMMU Group 24 0a:00.0 VGA compatible controller [0300]: Advanced Micro Devices, Inc. [AMD/ATI] Ellesmere [Radeon RX 470/480/570/570X/580/580X] [1002:67df] (rev e7)
IOMMU Group 24 0a:00.1 Audio device [0403]: Advanced Micro Devices, Inc. [AMD/ATI] Ellesmere [Radeon RX 580] [1002:aaf0]
IOMMU Group 25 0b:00.0 VGA compatible controller [0300]: Advanced Micro Devices, Inc. [AMD/ATI] Ellesmere [Radeon RX 470/480/570/570X/580/580X] [1002:67df] (rev e1)
IOMMU Group 25 0b:00.1 Audio device [0403]: Advanced Micro Devices, Inc. [AMD/ATI] Ellesmere [Radeon RX 580] [1002:aaf0]
Next, we’ll make some changes to the initrd to ensure that the vfio-pci
driver is loaded for our guest GPU, instead of amdgpu. To allow early kernel
modesetting to continue working with this setup, we load vfio-pci for the
guest GPU in the preDeviceCommand script block, which is executed before
udev is started.
boot.initrd.availableKernelModules = [ "amdgpu" "vfio-pci" ];
boot.initrd.preDeviceCommands = ''
  DEVS="0000:0b:00.0 0000:0b:00.1"
  for DEV in $DEVS; do
    echo "vfio-pci" > /sys/bus/pci/devices/$DEV/driver_override
  done
  modprobe -i vfio-pci
'';
We’ve already enabled virtualisation and IOMMU support in the UEFI, but we also
need pass a couple of parameters to the kernel command line (intel_iommu=on
for Intel CPUs and amd_iommu=on for AMD CPUs). We also need to load an extra
kernel module to be able to use KVM (kvm-intel for Intel CPUs and
kvm-amd for AMD CPUs).
boot.kernelPackages = pkgs.linuxPackages_latest;
boot.kernelParams = [ "amd_iommu=on" "pcie_aspm=off" ];
boot.kernelModules = [ "kvm-amd" ];
I had to add an extra parameter to turn off PCIe ASPM. Without it, the kernel would start kicking out AER errors and the whole system would become unstable shortly afterwards. On a side note: I usually use the latest kernel so that I receive new features (and any VFIO-related bug fixes) quickly, but if you like having a stable system, you might want to comment that part out.
Apply the configuration by running nixos-rebuild switch and reboot.
QEMU and libvirt
Next, we’ll set up libvirt. Libvirt is a tool that abstracts management of
virtual machines with support for multiple different hypervisors. This is not
strictly necessary, as we could also piece together a raw QEMU command
ourselves, but libvirt makes the whole thing a lot more manageable once you
start running multiple virtual machines. Add the following to your
configuration.nix:
environment.systemPackages = with pkgs; [
  virtmanager
];

virtualisation.libvirtd = {
  enable = true;
  qemuOvmf = true;
  qemuRunAsRoot = false;
  onBoot = "ignore";
  onShutdown = "shutdown";
};
This will install libvirt along with OVMF and configure the libvirtd service to
be started on boot. I also set onBoot to ignore and onShutdown to
shutdown, so that the virtual machines are always shut down cleanly and
never automatically started when the host boots.
From this point, you can install Windows in a virtual machine as you would on any other Linux distribution. As said, I’m not going to go over the whole process in this blog post, as the Arch Wiki already has a comprehensive article on it.
And that’s it! You should now be able to create a PCI passthrough setup on NixOS! My libvirt configuration file is available here for reference: libvirt-nt10.xml.
Bonus
There are some additional pieces of software that you can install to make the whole experience a bit more pleasant.
Looking Glass
Looking Glass is a piece of software that can capture the video output of a GPU passed through to a virtual machine and share it with the host by writing it to an Inter-VM shared memory device. The Looking Glass client can read from that device and display the video output on the host machine.
It is available in the Nix package collection as looking-glass-client. Once you’ve gone through the setup process on Windows, you’ll want to automatically create the SHM file on the NixOS side with some help from systemd-tmpfiles.
systemd.tmpfiles.rules = [
  "f /dev/shm/looking-glass 0660 alex qemu-libvirtd -"
];
And add it to the configuration of your virtual machine.
<shmem name='looking-glass'>
  <model type='ivshmem-plain'/>
  <size unit='M'>32</size>
  <address type='pci' domain='0x0000' bus='0x0b' slot='0x01' function='0x0'/>
</shmem>
You can then launch the client with looking-glass-client -f
/dev/shm/looking-glass. Here’s a short clip of Looking Glass in action:
While the performance and latency is really impressive, I wouldn’t recommend using this for very latency-sensitive games like first-person shooters, as the latency Looking Glass adds will still be at least as bad or worse than having Vsync enabled. It’s a great solution for nearly all other use cases, though.
Scream
Scream is a virtual network sound card for Windows. While it’s primary functionality is publishing the audio played through the device on the local network, it also supports IVSHMEM, like Looking Glass. This allows playing the guest audio on the host in a much better way than some of the other solutions I’ve tried.
It is available in the Nix package collection as scream-receivers. Once you’ve set up the Scream driver on Windows, you’ll want to automatically create another SHM file like we did before and define a systemd user service for the Scream client.
systemd.tmpfiles.rules = [
  "f /dev/shm/scream 0660 alex qemu-libvirtd -"
];

systemd.user.services.scream-ivshmem = {
  enable = true;
  description = "Scream IVSHMEM";
  serviceConfig = {
    ExecStart = "${pkgs.scream-receivers}/bin/scream-ivshmem-pulse /dev/shm/scream";
    Restart = "always";
  };
  wantedBy = [ "multi-user.target" ];
  requires = [ "pulseaudio.service" ];
};
And add it to the configuration of your virtual machine:
<shmem name='scream'>
  <model type='ivshmem-plain'/>
  <size unit='M'>2</size>
  <address type='pci' domain='0x0000' bus='0x0b' slot='0x02' function='0x0'/>
</shmem>
Conclusion
I hope this blog post gives you an idea of where to get started to get PCI
passthrough working on NixOS. Eventhough my setup is almost certainly not
exactly the same as yours, most of the NixOS-specific parts discussed will apply
for everyone. To summarize, the final configuration.nix snippet looks like
this:
environment.systemPackages = with pkgs; [
  looking-glass-client
  scream-receivers
  virtmanager
];

virtualisation.libvirtd = {
  enable = true;
  qemuOvmf = true;
  qemuRunAsRoot = false;
  onBoot = "ignore";
  onShutdown = "shutdown";
};

boot.kernelPackages = pkgs.linuxPackages_latest;
boot.kernelParams = [ "amd_iommu=on" "pcie_aspm=off" ];
boot.kernelModules = [ "kvm-amd" ];

boot.initrd.availableKernelModules = [ "amdgpu" "vfio-pci" ];
boot.initrd.preDeviceCommands = ''
  DEVS="0000:0b:00.0 0000:0b:00.1"
  for DEV in $DEVS; do
    echo "vfio-pci" > /sys/bus/pci/devices/$DEV/driver_override
  done
  modprobe -i vfio-pci
'';

systemd.tmpfiles.rules = [
  "f /dev/shm/scream 0660 alex qemu-libvirtd -"
  "f /dev/shm/looking-glass 0660 alex qemu-libvirtd -"
];

systemd.user.services.scream-ivshmem = {
  enable = true;
  description = "Scream IVSHMEM";
  serviceConfig = {
    ExecStart = "${pkgs.scream-receivers}/bin/scream-ivshmem-pulse /dev/shm/scream";
    Restart = "always";
  };
  wantedBy = [ "multi-user.target" ];
  requires = [ "pulseaudio.service" ];
};